Adobe Lightroom CC Guide
1
Save and share photos with Lightroom CC
Save and share photos
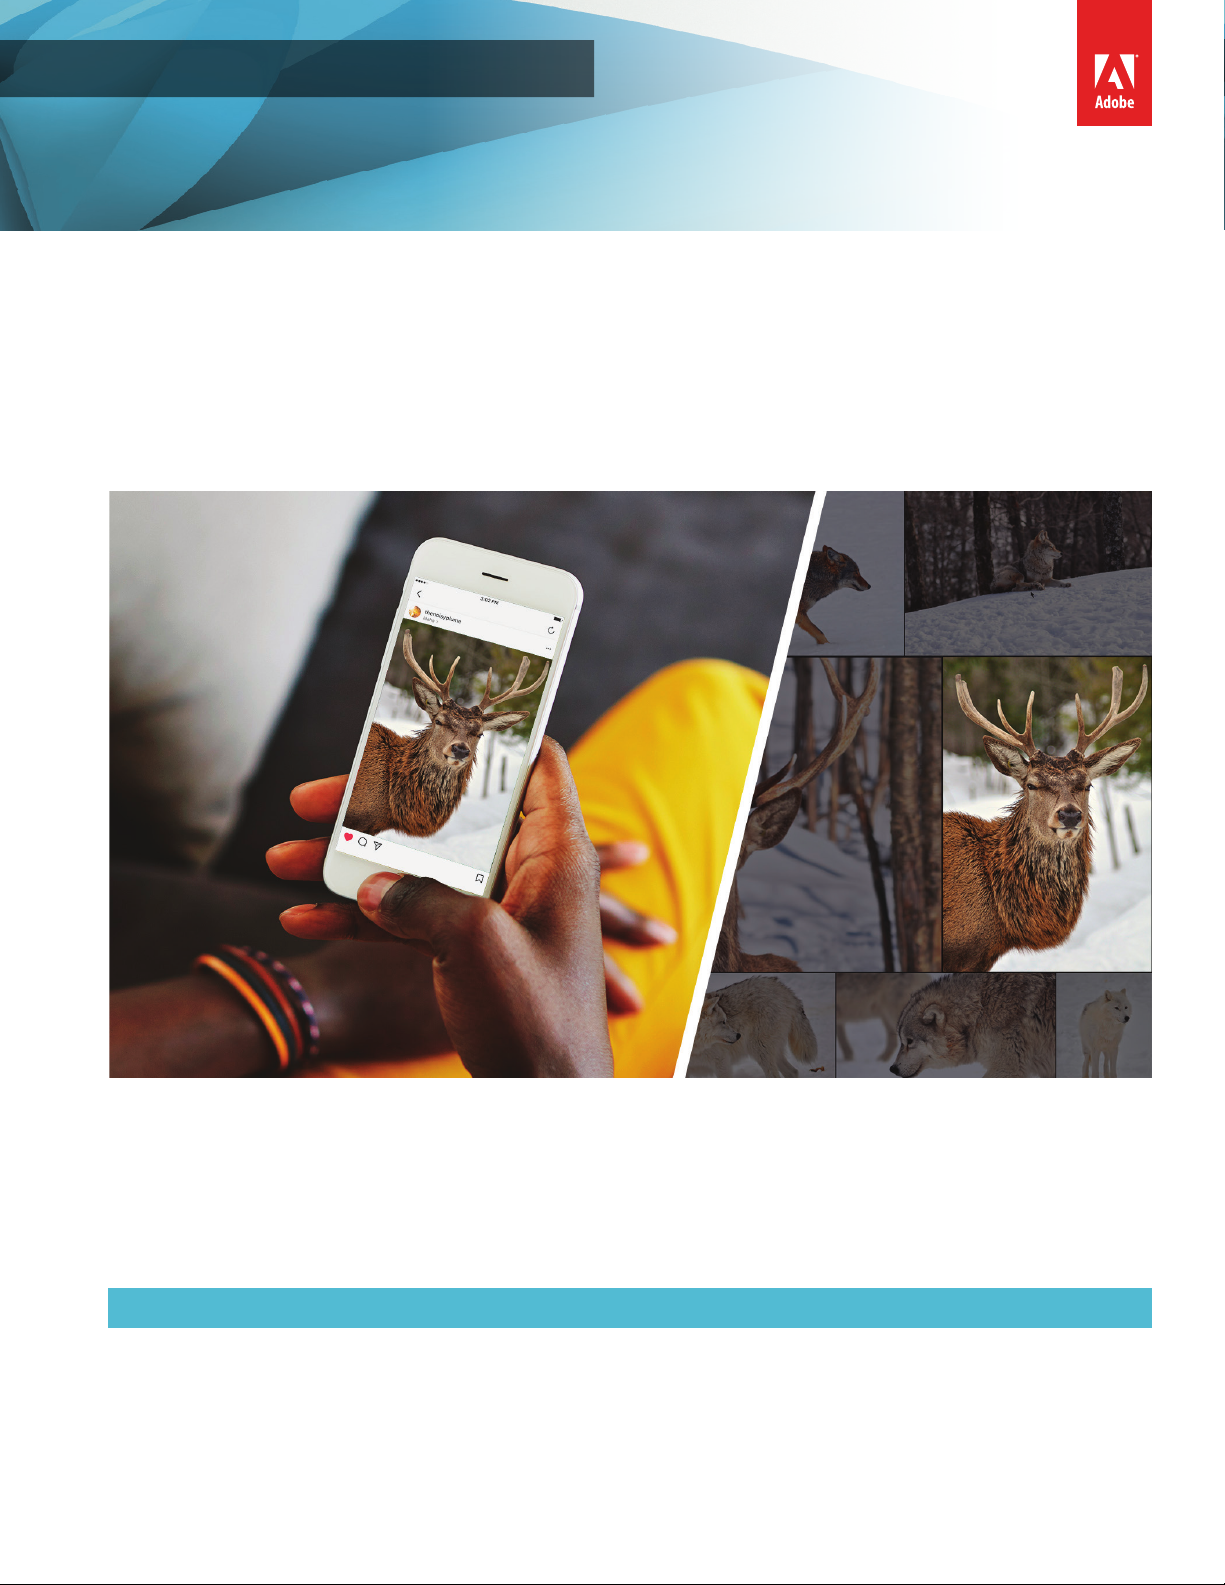
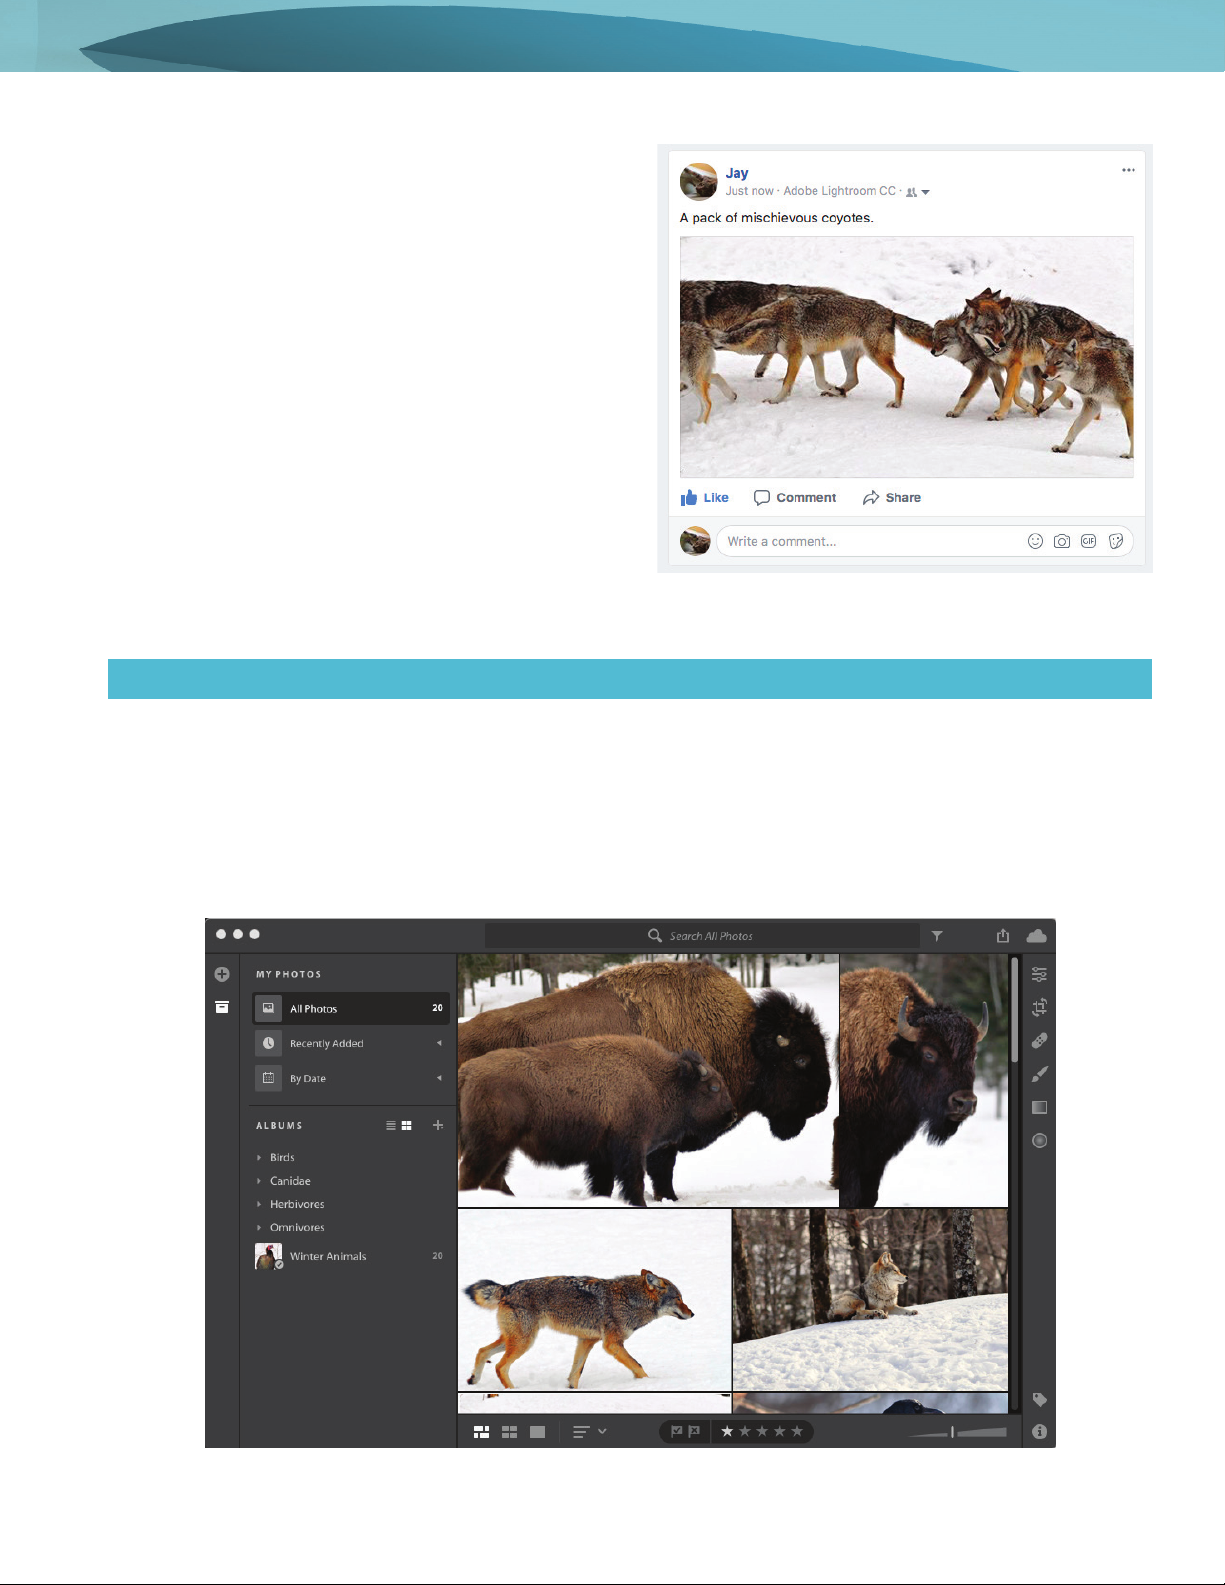
Share albums with friends and family, or showcase your photos on social media (Figure 1). It’s easy in
Lightroom CC, whether you’re using the built-in sharing tools from your computer, your mobile
device, or the web.
In this guide, you’ll learn how to save photos to your computer, and share photos to Facebook. Web galleries is another
easy way to share photos with friends and family. While not documented in this guide, saving and sharing photos and
web galleries from your mobile device is just as easy doing so from Lightroom CC for desktop.
Save your photos to your computer
In Photoshop Lightroom CC, you choose to save your edited photos as JPEGs (small, maximum, or custom size) or as
full-sized originals. You can save to a folder on a computer or to an attached or networked drive, such as a Flash drive.
When you save photos, you create new image files that include the edits and other metadata changes you’ve made to
the photos.
Figure 1 Sharing a Lightroom CC image on social media
2
Save and share photos with Lightroom CC
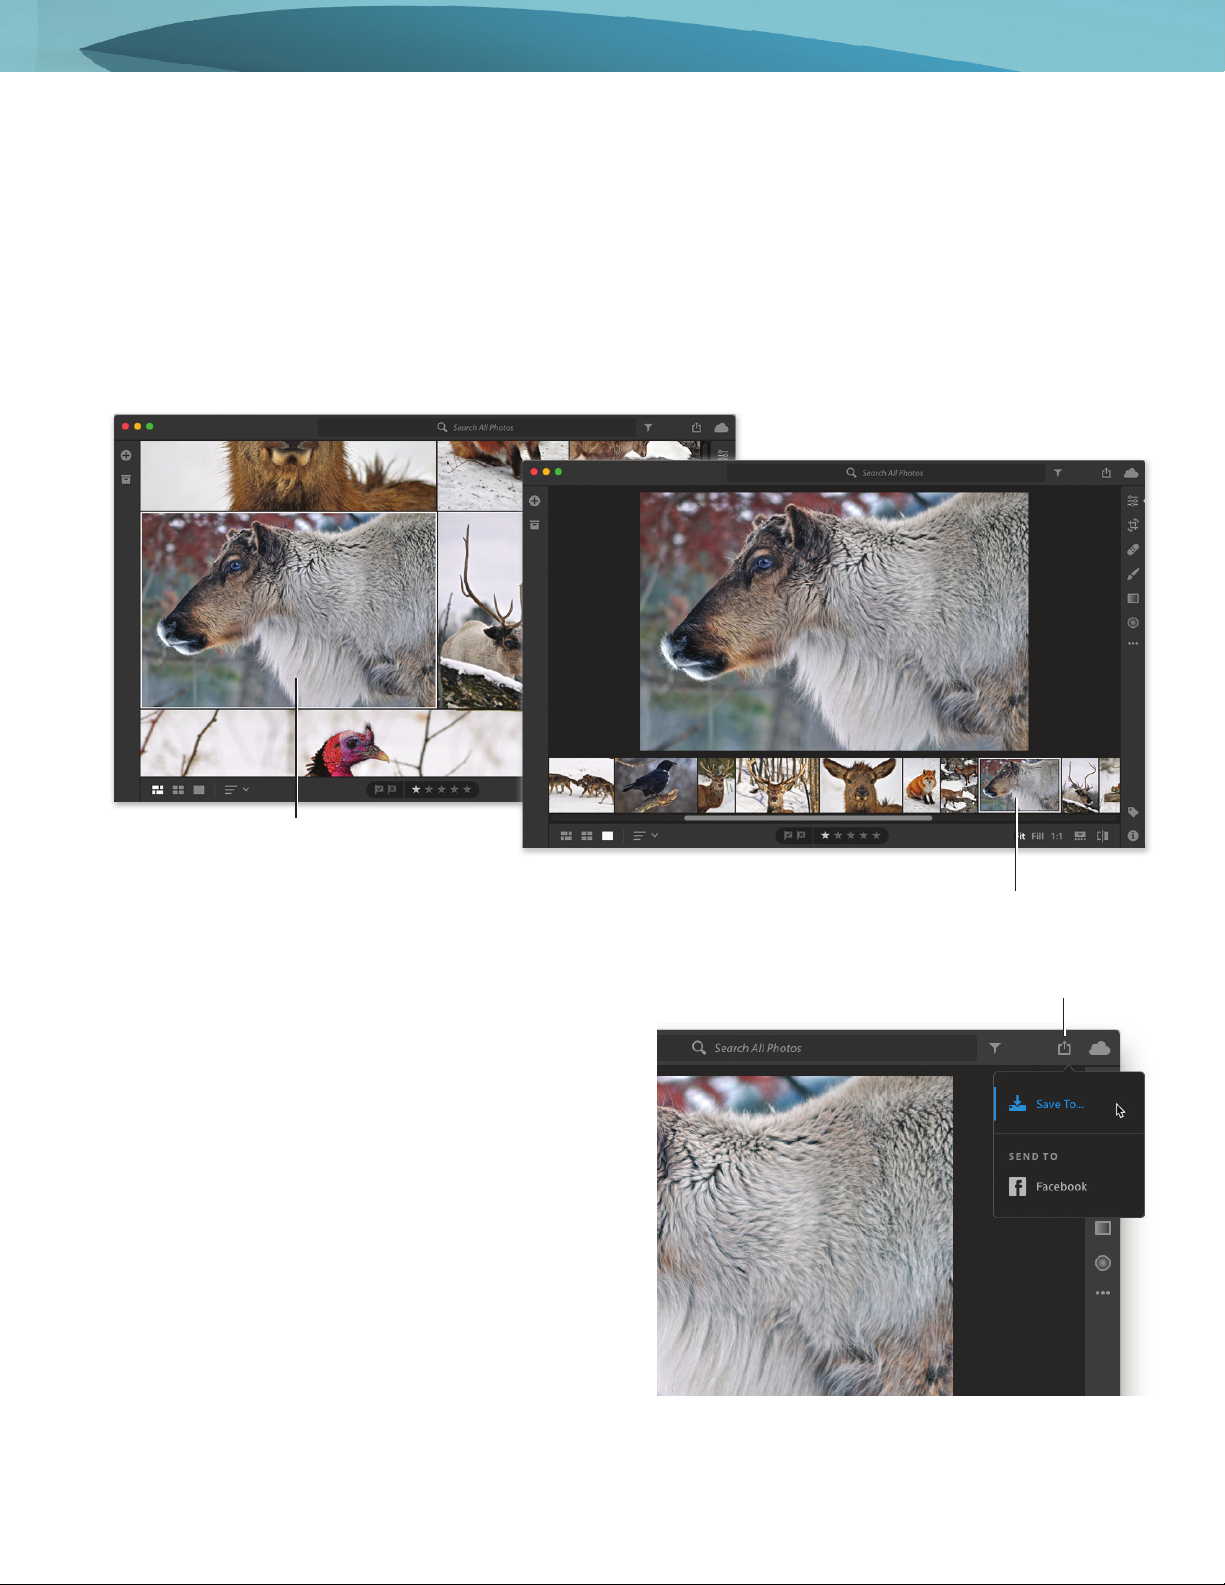
Figure 2 Lightroom CC Photo Grid (left) and Detail view (right)
To save photos from Lightroom CC to a computer:
1. Start Lightroom CC.
2. Select one or more photos to save from the Photo Grid, Square Grid, or Detail views (Figure 2):
• If you’re in Photo Grid view or Square Grid view, select the photo that you want to save. Control-click to select
multiple photos.
• If you’re in Detail view, select the photo that you want to save from the lmstrip. Control-click to select
multiple photos.
3. Click the Share icon at the upper-right corner
and choose Save To from the menu that appears
(Figure 3).
Selected image
Selected image
Figure 3 Share menu
Share icon
3
Save and share photos with Lightroom CC
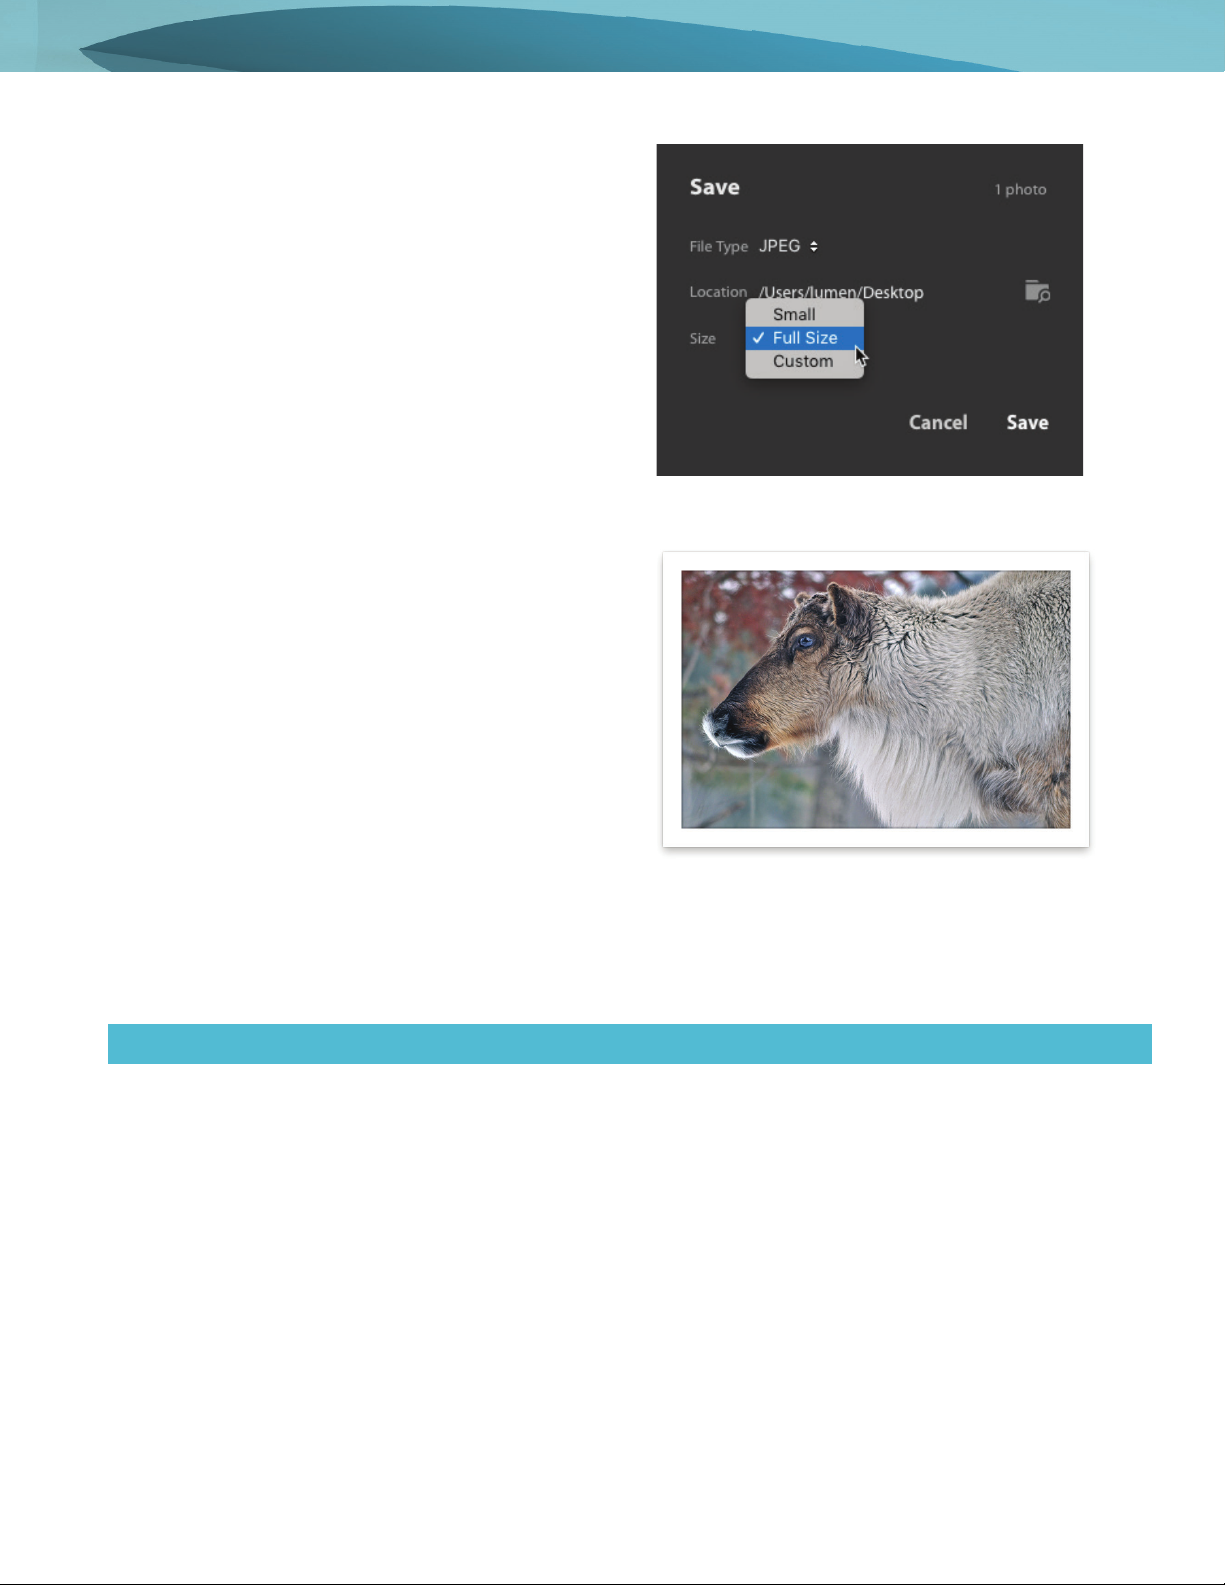
4. In the Save dialog box (Figure 4), specify the follow-
ing:
• File Type Choose JPEG to save the photo in .JPG
format. Choose Original + Seings to save the
photo as full-size original.
• Location Save at the default location or select
another folder to save the photo. e default
location is:
• Win: C:\Users\[user name]\Pictures\
Lightroom CC Saved Photos
• Mac: /Users/[user name]/Pictures/
Lightroom CC Saved Photos
• Size You can specify a size if you’ve chosen File
Type as JPEG. Choose any of the following from
the drop-down list:
• Small: Limits the length of the saved JPEG
photos to 2048 pixels. e breadth is scaled
accordingly to maintain the original aspect
ratio.
• Full Size: Exports the selected photos in
highest available quality in JPEG format.
• Custom: Applies the specied pixel value to
the long edge of the photo and uses the
original aspect ratio of the photo to calculate
the other edge. e long edge value can’t
exceed 65,000 pixels.
5. Aer specifying the options, click Save.
6. e le is saved to the location you specied (Figure 5).
Share photos on Facebook
To send photos to Facebook from Photoshop Lightroom CC to share with friends and family, follow these basic steps.
To share photos on Facebook:
1. Select one or more photos to save from the Photo Grid, Square Grid, or Detail views (Figure 2):
• If you’re in Photo Grid view or Square Grid view, select the photo that you want to save. Control-click to select
multiple photos.
• If you’re in Detail view, select the photo that you want to save from the lmstrip. Control-click to select
multiple photos.
Figure 4 The Save dialog box
Figure 5 The saved JPEG file
4
Save and share photos with Lightroom CC
2. Click the Share icon at the upper-right corner and
choose Send To > Facebook from the menu that
appears (Figure 6).
3. Authorize Lightroom CC to access your Facebook
account (required when sharing for the rst time)
(Figure 7). Click Go To Facebook and follow the
prompts on facebook.com. Aer linking your Face-
book account (Figure 8), you can return to Lightroom
CC to complete the sharing process.
4. Enter photo caption and choose a Facebook album. In
the Share To Facebook dialog box (Figure 9), choose
the following:
• Caption Enter a photo caption to display on
Facebook.
• Post Photos To Choose Timeline Photos to
share photos on your timeline or choose any of
your existing Facebook albums from the drop-
down list
Figure 6 Share menu
Share icon
Figure 7 Link To Facebook Account dialog box
Figure 8 Adobe Lightroom CC authorization
Figure 9 Share To Facebook dialog box
5
Save and share photos with Lightroom CC
5. Click Share in the Share To Facebook dialog box.
Your photos are shared to Facebook (Figure 10).
Share albums on the web
Lightroom CC makes it easy to create web galleries from your photo albums to share with friends and family.
To share albums on the web:
1. In Photo Grid view or Square Grid view, select the My Photos icon to open the My Photos and Albums panel.
The My Photos and Albums panel opens (Figure 11).
Figure 10 Shared Lightroom CC photo on Facebook
Figure 11 My Photos and Albums panel and Photo Grid view

6
For more information
Get instant access to free courses, workshops, &
teaching materials and connect with the creative
education community on the Adobe Education
Exchange: https://edex.adobe.com/.
Adobe Systems Incorporated
345 Park Avenue
San Jose, CA 95110-2704
USA
www.adobe.com
Adobe and the Adobe logo are either registered trademarks or
trademarks of Adobe Systems Incorporated in the United States
and/or other countries. All other trademarks are the property of
their respective owners.
© Adobe Systems Incorporated. All rights reserved.
is work is licensed under a Creative Commons Aribution-
Noncommercial-Share Alike . Unported License.
2. In the Albums panel, right-click an album and choose
Share Album (Figure 12).
The Shared Album dialog box opens and displays a
URL (Figure 13).
3. Click the Copy buon to save the URL to the clip-
board. Paste the URL to share via your favorite social
media channels or in an email.
Note: You can stop sharing an album at any time by
right-clicking it and choosing Stop Sharing.
4. Click the Close buon.
Your web gallery is now ready to view (Figure 14).
Note: You can see the sample Winter Animals web
gallery here. Click the Slideshow button to view the
gallery in slideshow mode.
Figure 12 Album context menu
Figure 13 Shared Album dialog box
Figure 14 My Photos and Albums panel and Photo Grid view

'